

10 Essential Dos and Don’ts for Choosing the Perfect Front Door Color
Your front door is often the first impression guests have of your home, making it a vital aspect of your home’s curb appeal. The color
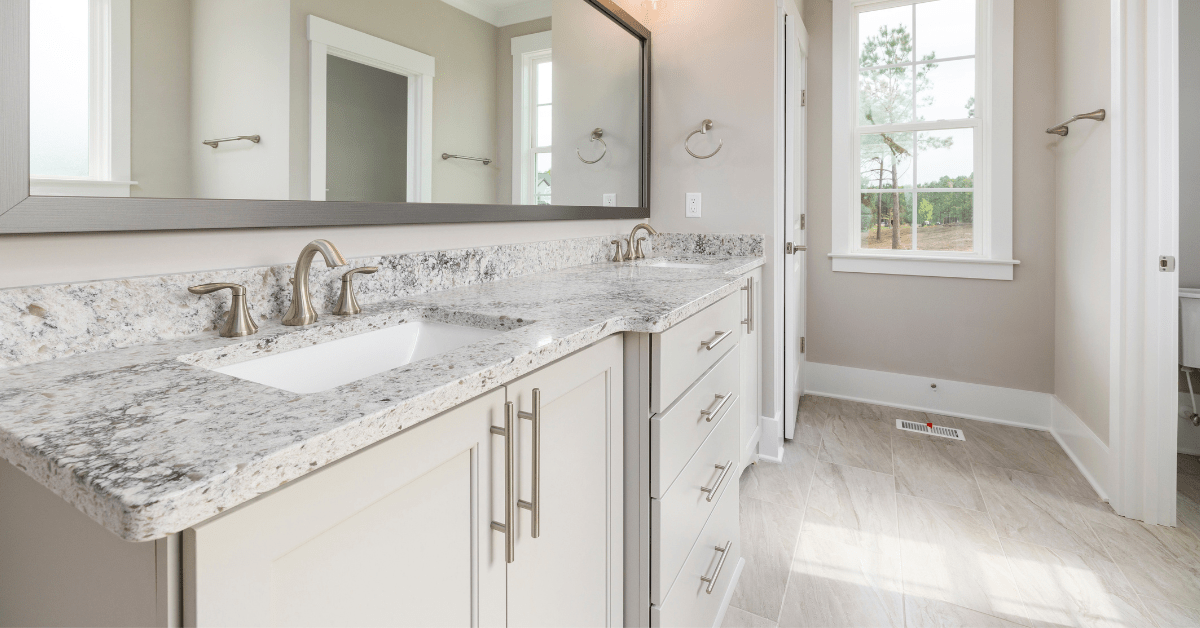
White Quartz Countertops: What You Need to Know Before You Buy
White quartz countertops are a stunning and versatile choice for modern kitchens and bathrooms. Known for their elegant appearance and durability, these countertops seamlessly blend
Best Countertops for Kitchens and Bathrooms: A Comprehensive Guide
Choosing the right countertop material for your kitchen or bathroom is crucial, as it significantly affects both functionality and aesthetics. With a multitude of options
Matte Countertops vs. Glossy Countertops: The Ultimate Comparison Guide for Your Kitchen
When designing your kitchen, one of the most significant decisions you’ll make is choosing the right countertop. Countertops serve both functional and aesthetic purposes, impacting
5 Essential Tips for Better Home Office Lighting
Creating an effective lighting scheme in your home office is crucial for enhancing productivity, comfort, and overall well-being. Proper lighting can reduce eye strain, improve
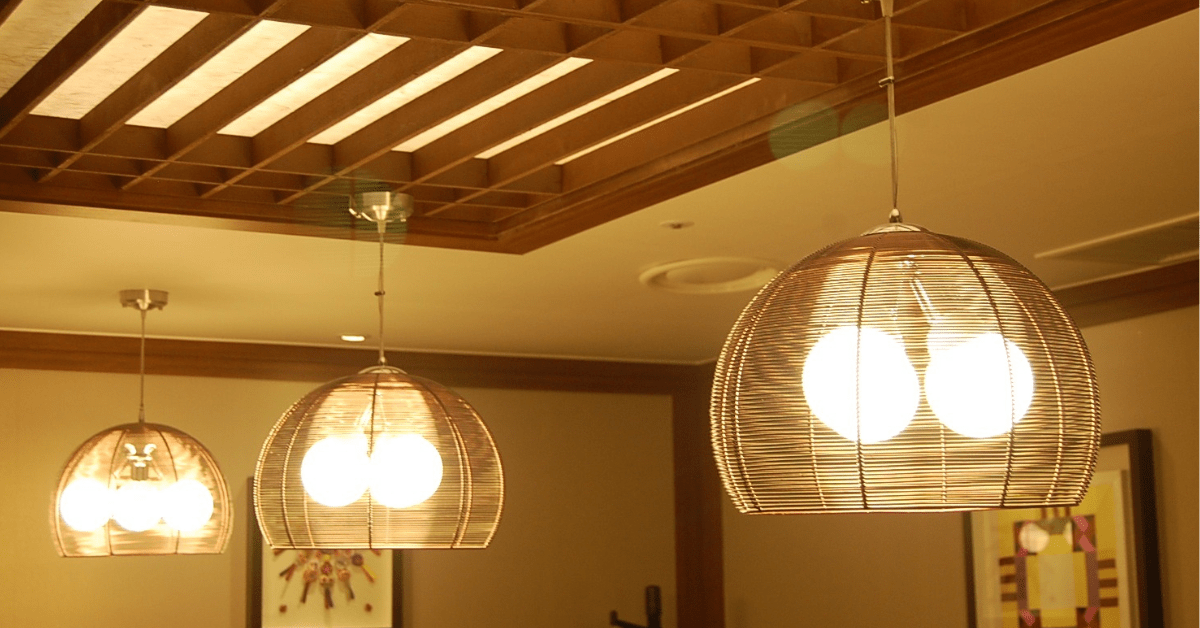
Warm Lighting Basics: Transform Your Home with Comfort and Ambiance
Warm lighting is more than just a practical element of your home; it plays a significant role in shaping your environment and influencing your mood.
The Ultimate Guide to Basement Lighting: Illuminate Your Space Effectively
Basements often serve as multi-functional spaces, but their limited natural light can make them challenging to illuminate effectively. Proper lighting is essential not only for
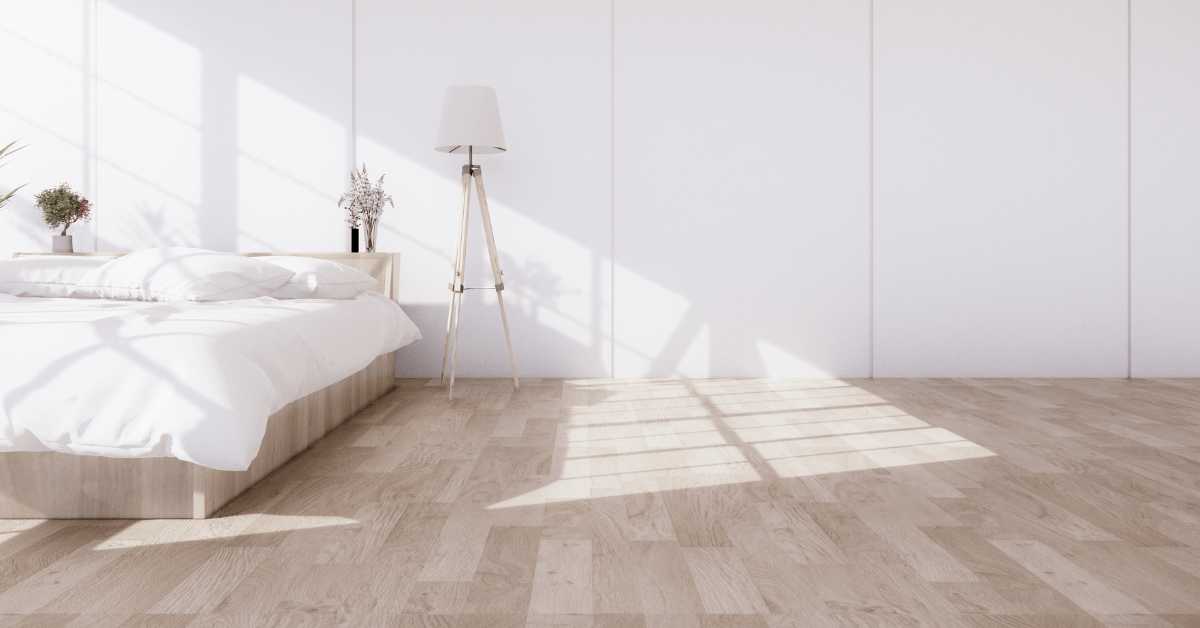
A Comprehensive Guide to Choosing the Perfect Flooring for Your Home
Selecting the right flooring for your home is a significant decision that goes beyond aesthetics. The flooring you choose can affect the ambiance of your
8 Most Durable Flooring Options for Heavy Foot Traffic
When it comes to selecting flooring for high-traffic areas, durability is paramount. Homes with kids, pets, and constant movement demand flooring that not only withstands
How to Choose the Best Underlayment for Laminate Flooring
When installing laminate flooring, one critical aspect that often gets overlooked is the underlayment. The underlayment you choose can significantly impact the performance, longevity, and

5 Essential Original Home Details Designers Recommend Preserving
When embarking on a home renovation, especially in older residences, the decision of what to retain and what to change can often feel daunting. While
5 Tips for Renovating Your Home While Preserving Its Character
Renovating a home can be a thrilling yet challenging endeavor, particularly when it involves older properties rich in history and charm. The goal of any
3 Common Renovation Mistakes Designers Really Hate (and How to Avoid Them)
Embarking on a home renovation can be an exhilarating journey filled with dreams of transformed spaces. However, it can also be overwhelming, and even a
Do Coffee Grounds Kill Indoor Ants? A Pest Control Expert Explains the Truth
If you’re like many homeowners, dealing with pesky indoor ants can be frustrating. Ants seem to appear out of nowhere, forming long trails in search
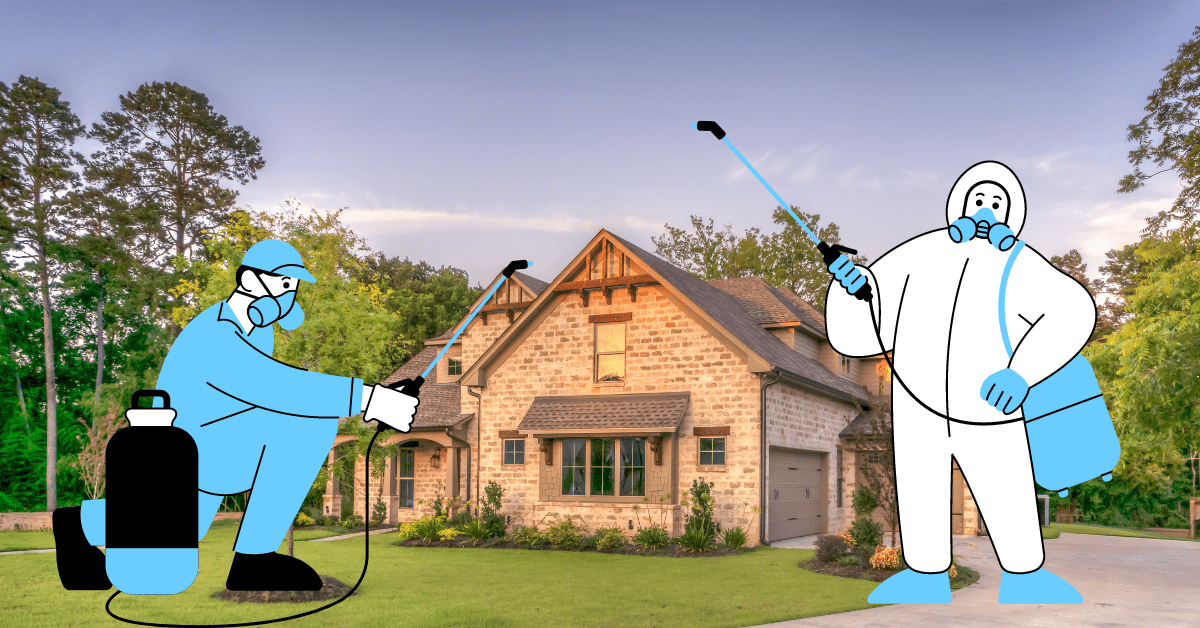
15 Natural Pest Control and Prevention Tips to Keep Your Home Pest-Free
When it comes to home pest control, many people resort to chemical-based solutions that can harm both their health and the environment. However, there are
5 Popular Pest Control Hacks That Don’t Actually Work (And What to Do Instead)
When pests like ants, mosquitoes, and rodents invade your home, it’s easy to be tempted by DIY pest control hacks you find online. Unfortunately, many

What to Know About HVAC Maintenance Costs (And How to Make Your System Last Longer)
Your HVAC (Heating, Ventilation, and Air Conditioning) system is one of the most critical components in your home, providing year-round comfort by regulating the temperature
11 Reasons Your Furnace Isn’t Blowing Hot Air (and How to Fix It)
As the colder months roll in, homeowners rely heavily on their furnace to keep their homes warm and comfortable. However, when your furnace suddenly stops
When to Upgrade Your Heating System: 9 Clear Signs It’s Time to Replace Your Old Furnace
Maintaining a comfortable home during the colder months requires a reliable heating system, particularly a well-functioning furnace. However, like any appliance, furnaces do not last
How Much Does Roof Leak Repair Cost? Complete Breakdown by Roof Type
Roof leaks are every homeowner’s nightmare, leading to potential water damage, mold growth, and costly repairs if not addressed promptly. Understanding the cost of roof
How Much Does a Roof Replacement Cost in the U.S.?
Owning a home involves many responsibilities, and maintaining your roof is one of the most important tasks. A roof replacement may become necessary due to